
Here is a clear, step-by-step draft for your help center blog post. It is written to be easy to follow for users of all technical levels, using the specific widget details from your screen.
How to Install Your NPS Feedback Widget
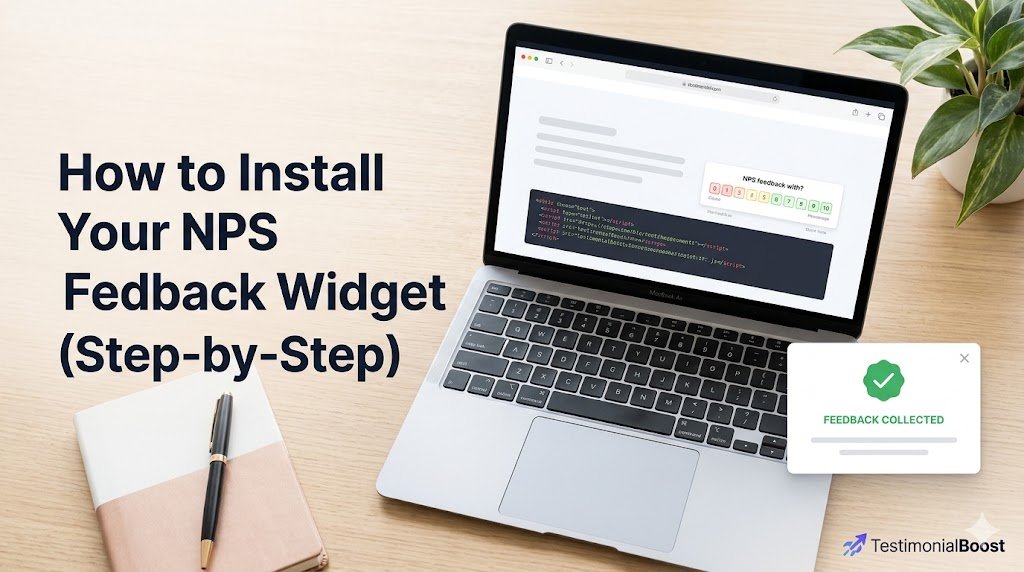
Want to start collecting valuable user feedback? Installing the TestimonialBoost NPS Feedback Widget on your website is quick and easy. By adding a small code snippet to your site, you can display a beautiful feedback engine to your visitors.
Follow this simple, step-by-step guide to get it up and running in minutes.
Step 1: Copy Your Custom Code Snippet
First, you need to grab the unique HTML code block for your widget.
Copy the exact code snippet created:
Example: HTML
<script src="https://app.testimonialboost.com/widget-v2.js?v=1" async></script>
<div
  data-tb-nps="fe7ee63a-be15-45ca-9af4-4ee7ed0d003a"
  data-tb-origin="https://app.testimonialboost.com"
  style="min-width:100%;min-height:1px;">
</div>
Step 2: Choose Your Installation Method
Depending on how your website is built, choose one of the common methods below to paste the code.
Option A: Using WordPress (Recommended)
If your website runs on WordPress, the safest and easiest way to add the code is by using a code snippets plugin so you don’t have to edit your theme files directly.
-
Log into your WordPress Dashboard.
-
Install and activate a free plugin like WPCode (Code Snippets).
-
Navigate to Code Snippets > + Add Snippet in your left-hand menu.
-
Select Add Your Custom Code (New Snippet).
-
Change the Code Type dropdown to HTML Snippet.
-
Paste the copied code into the Code Preview box.
-
Set the Insert Method to Auto Insert and choose Site Wide Header as the location (or select Shortcode if you only want it on a specific page).
-
Toggle the switch to Active and click Save/Update.
Option B: Direct HTML Implementation (For Custom Websites)
If you manage your website’s raw HTML files or use a custom framework:
-
Open the target HTML file (e.g.,
index.htmlor your global footer/header template) in your code editor. -
Paste the snippet inside the
<head>tag or right before the closing</body>tag where you want the widget to render. -
Save and upload the updated file to your server.
Option C: Using Wix, Squarespace, or Shopify
Most modern website builders allow you to inject custom code easily:
-
Shopify: Go to Online Store > Themes > Edit Code, and paste it into your
theme.liquidfile. -
Squarespace: Go to Settings > Advanced > Code Injection and paste it into the Header or Footer section.
-
Wix: Go to Settings > Custom Code, click + Add Custom Code, paste the snippet, and select the pages where you want it to appear.
Step 3: Verify the Installation
Once you have saved the changes on your website:
-
Open your website in a new browser tab (ideally in an Incognito/Private window).
-
Look for the NPS Feedback Widget to ensure it loads properly.
-
If you don’t see it immediately, clear your website cache (e.g., LiteSpeed Cache, Cloudflare) and refresh the page.
💡 Need Help? If you run into any issues during the setup, please reach out to our support team through the Help Center dashboard. Happy collecting!